How to wire a single room
Wiring a single room can be a daunting task, especially if you’re not a trained electrician. But with the right tools and a bit of patience, it’s a task that anyone can take on with confidence. You can save tons of money by doing your own wiring on your home renovation or remodel.
If you have the walls gutted already, why not go the extra mile and run your new wiring at the same time? Plenty of non-electricians manage to wire their rooms every day, and we’re going to make sure you can do it without injuring yourself or poorly instilling your wiring to cause issues in the future.
Things needed
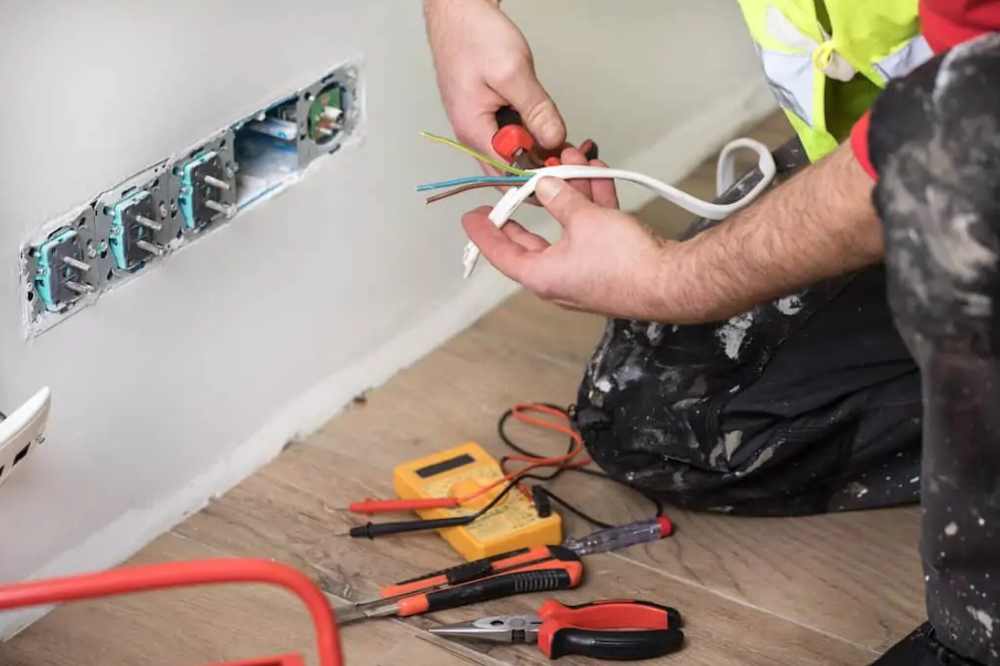
- Test lamp
- Screwdriver
- Wire snippers
- Drywall saw
- Electrical boxes
- 12-gauge electrical wire
- Drill
- 1/2-inch drill bit
- Wire staples
To begin, you will need to make sure you have all the materials you need. This includes wire, electrical boxes, outlets, switches, and any other components you’ll need to complete the project. It’s also important to have the right tools such as wire cutters, strippers, and screwdrivers to ensure the job is done correctly and safely. Once you have all the supplies, you’re ready to get started.

Tips
Avoid oversizing holes for electrical boxes by using remodeling boxes whenever possible. They attach directly to the drywall.
Warning
Be sure to test every device in the room before disconnecting it. There may be one on a branch circuit that originates in another part of the house.
How to wire a single room
1. The first step is to plan the layout of the wiring in the room. This should include the outlets, switches, and any other electrical devices you’ll be wiring. Make sure everything is planned out in a way that makes sense and that all the components will fit into the room’s space.
2. Next you will need to run the wiring from the main electrical panel to the outlets and switches in the room. This is done by using insulated wire and running it from the main panel to the outlets and switches. When running the wire, be sure to leave enough slack to allow for future adjustments and make sure you follow the manufacturer’s instructions closely.
3. After the wiring is run, it’s time to install the electrical boxes, outlets, and switches. When installing the boxes, pay attention to the instructions closely and take your time. Make sure the boxes are level and that all the wiring is securely attached. If you’re unsure of anything, make sure to consult a professional electrician.
5. Once everything is installed, it’s time to connect the wiring. Make sure to follow the manufacturer’s instructions closely, and use wire nuts to make sure all the connections are secure.
Now that everything has been connected, you’re ready to turn the power back on and test the wiring. If it all works correctly, your single room is ready to use.
Final words
- Advertisement -
Wiring a single room may seem intimidating at first, but with the right tools, materials, and patience, it’s a task that anyone can take on with confidence. Just make sure that you’re following the necessary safety precautions and that you have all the necessary tools before you begin.